How To Measure For Custom Coil-Overs
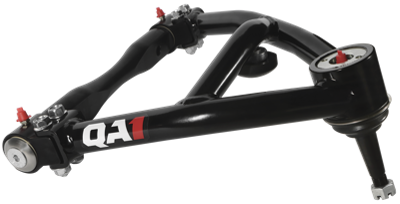
Custom coil-overs can give you a ton of flexibility in the way you set up your suspension. You could be looking to fab up a custom 4-bar or ladder bar rear suspension for a drag car, hoping to make your vintage vehicle handle like a modern car or simply upgrading a vehicle that has very little aftermarket support.
Regardless of your application, one thing is true: a little fab work and a few measurements go a long way. Here’s what you need to do to install a set of custom coil-overs on your ride.
Determine your shock lengths
The first thing to do is measure for shocks. You’ll want to jack up your car’s frame, then adjust the wheels so they are sitting at the same height they would be cruising down the road. Next, measure the distance between the upper and lower shock mounts you plan to use. This will be your shock’s “ride height.”
Before moving forward, make sure your suspension can still accommodate a sufficient amount of shock travel. For solid axles, that is 2.5” of compression travel and 2.5” of extended travel. For an independent suspension system, measure wheel travel for 2.5” of extension and compression. You can check out our other tech article about measuring for custom shocks for a more in-depth explanation of this process.
Determine the weight of your vehicle
Once you know what length shock you need, you can get an idea of what spring rate you’ll need. For this process, it’s best to use scales to know exactly how much weight you have front and rear. It’s also helpful to know the amount of unsprung weight in your vehicle, or any weight that is not supported by the springs. This includes items like wheels, tires, brakes and your rear axle.
Calculate your spring rate
Once you’ve determined these weights, you can use a formula to determine the approximate spring rate you’ll need based on the type of suspension you’re using:
Straight axle: (Weight of vehicle - Unsprung weight) ÷ 30% of spring free height ÷ 2
For example: The back half of your car uses a straight axle and weighs 1,500 lbs. 300 lbs of that is unsprung weight. You plan to use 12” springs. (These are all round numbers to use as an example only.)
The formula would look like this: (1,500 – 300) ÷ (12x.3) ÷ 2 = 166.66
Because finding a spring that is exactly 166.66 lb/in would be near impossible, a spring rate in the range of 170 lb/in would a good starting point for street driving.
Independent suspension: (Weight of vehicle - Unsprung weight) ÷ 30% of spring free height ÷ force ratio ÷ 2
For example: The front half of your car uses independent control arms and weighs 1,500 lbs. 100 lbs of that is unsprung weight. You plan to use 10” springs. Your force ratio is .5. (Again, round numbers for the sake of example.)
The formula would look like this: (1,500 – 100) ÷ (10x.3) ÷ .5 ÷ 2 = 466.66
In this instance, your spring rate should be 466 lb/in. That means a 450 lb/in spring would be a good fit. If your coil-overs will be mounted at an angle, you will also need to account angle correction factor. This means you may need to use a stiffer spring, depending on how extreme the angle is.
For a more in-depth guide, check out our helpful guide to calculate your force ratio and correction angles.
Some other things to consider
There is no perfect answer to “what spring rate do I need.” Spring rate often comes down to a combination of intended use and personal preference. Drag cars require a much different spring rate than pro touring cars or street cruisers. Also, you may like your car to perform and feel much different than someone else who has the exact same suspension setup.
One of the advantages of a coil-over setup is how easy it is to change your springs. If you decide you want to try a different spring rate, it’s often an easy procedure to swap the springs out and make an update.
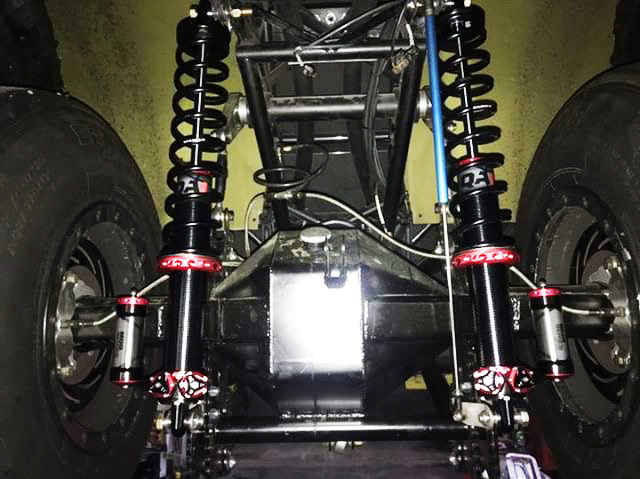
Make sure your brackets can hold the weight of the vehicle. Stock shock mounts were not always made to hold up the weight of the vehicle. Most of the time, in a conventional (divorced) shock and spring configuration they were simply meant to hold enough force for the shock to dampen the movement of the springs.
Don’t assume a stock spring pocket will work with custom coil-overs. If you plan to use a stud top coil-over that fits in a stock spring pocket, make sure to account for the height of the spring on top of the shock body. You may not be able to achieve the ride heights you want without a direct-fit coil-over designed to fit in a very compact space while allowing for an adequate amount of shock travel.
In this case, it may be easier to cut out the spring pocket and add a bracket above this hole. You can then use an eyelet-to-eyelet shock, running the entire coil-over through the frame. This will help add travel to the shock’s stroke and give you more flexibility. For instance, our Level 3 C1500 Coil-Over conversion system (shown below) uses a bracket on top of the frame rail to allow for the use of a longer shock and spring.
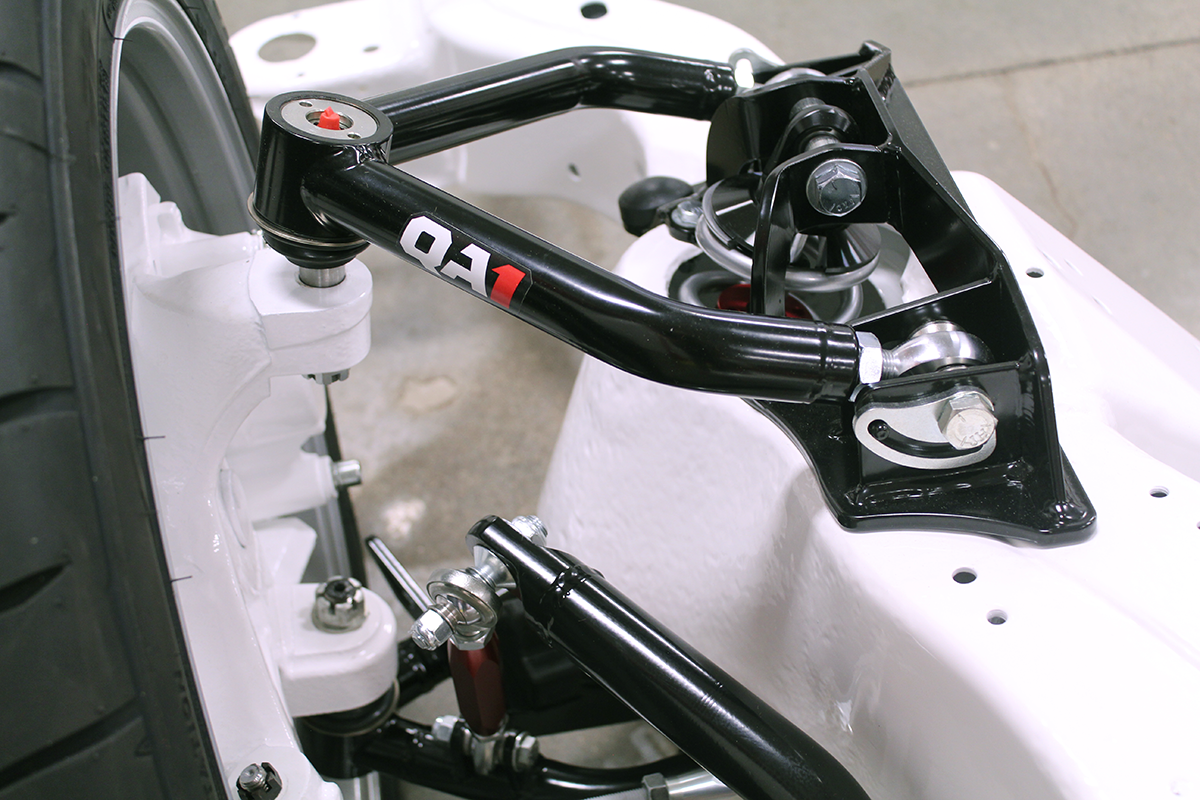
Make sure you have enough clearance for a spring. Often, it’s easiest to mockup a suspension for custom coil-overs without having a spring on the shock body. Just make sure your suspension will have clearance for the added diameter of the spring throughout its full range of motion.
Still have questions?
Our team can help answer any questions you have while working on custom coil-overs for your application. Feel free to give us a call or send us an email. We’ll point you in the right direction.