Four Ways To Make Your 65-70 Impala Feel Like A New Car
Four Ways To Make Your 65-70 Impala Feel Like A New Car
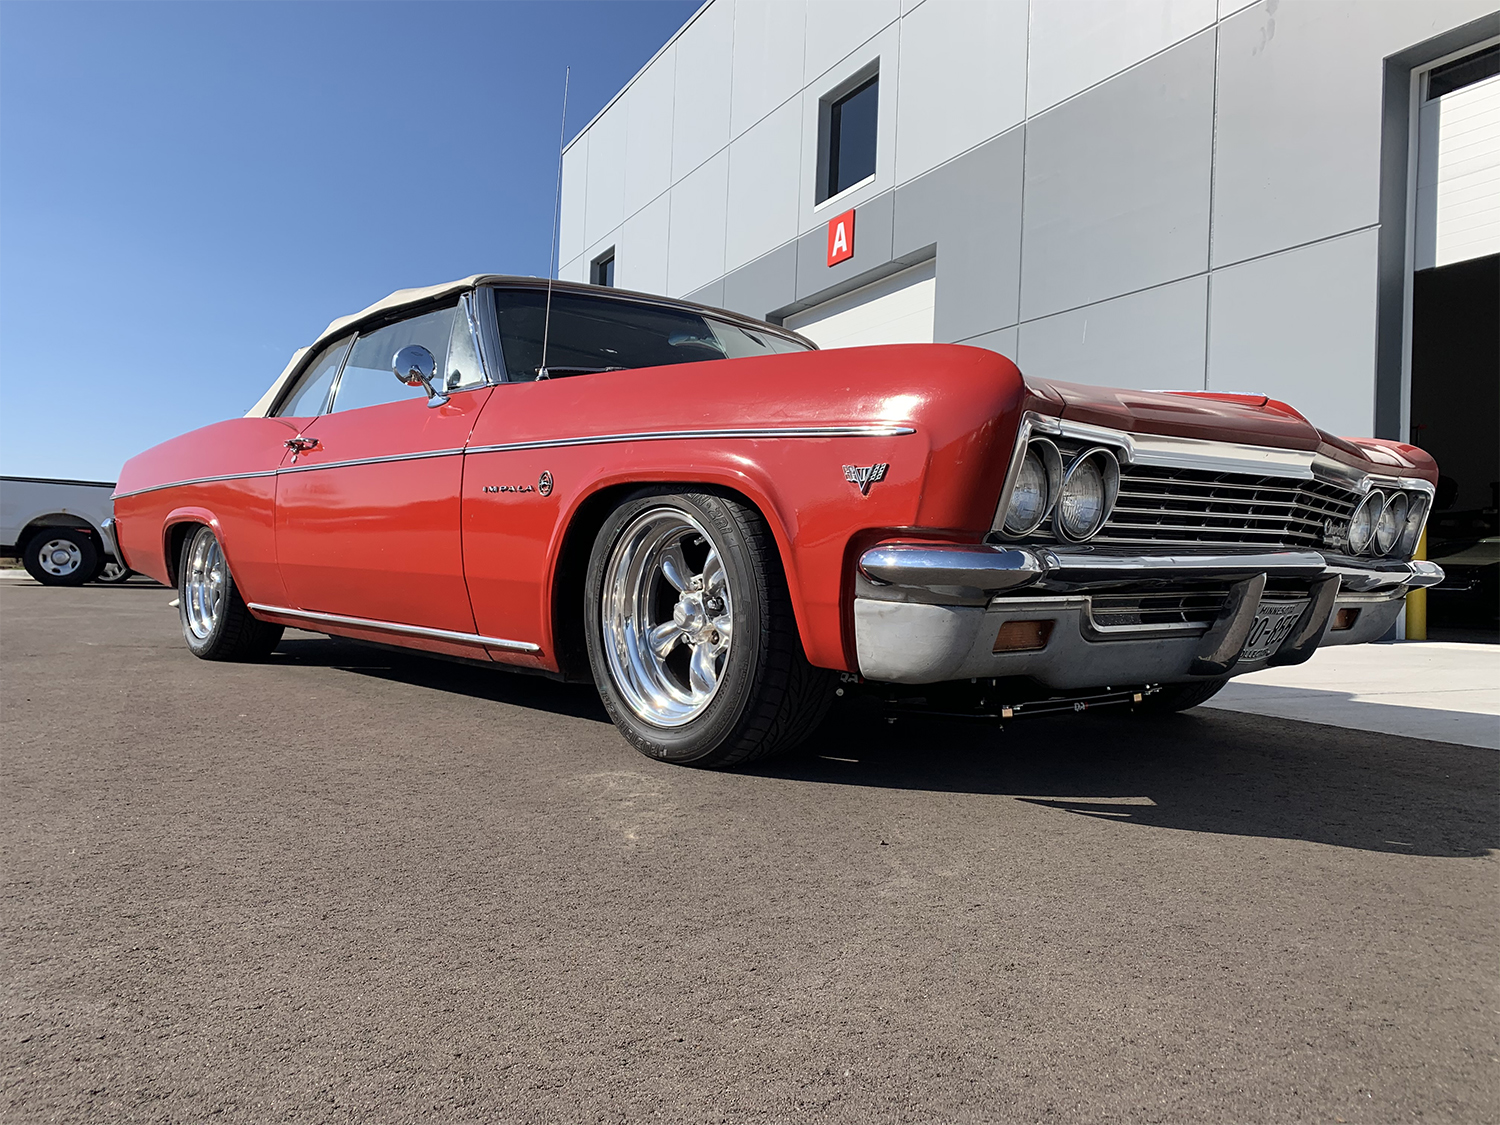
You’ve been scouring marketplace for that perfect ‘65 – ‘70 Impala, Biscayne or Bel Air and finally found “the one.” Or maybe you picked up a solid runner a few years and now have free weekends to dig in and help your full-size GM reach its full potential. You might even be dipping a toe in the water to better understand what these cars are capable of. If any of the above apply to you, you’re in the right place.
We’ve put together a list of our favorite upgrades to get your classic Chevy up and running (gasp, maybe even a reliable daily) without taking your car off the road for years. Obviously, you can go as crazy as you want with these. But even budget-minded versions of the fixes below will drastically improve your car for cruise nights, trips down the drag strips or laps around your local autocross course.
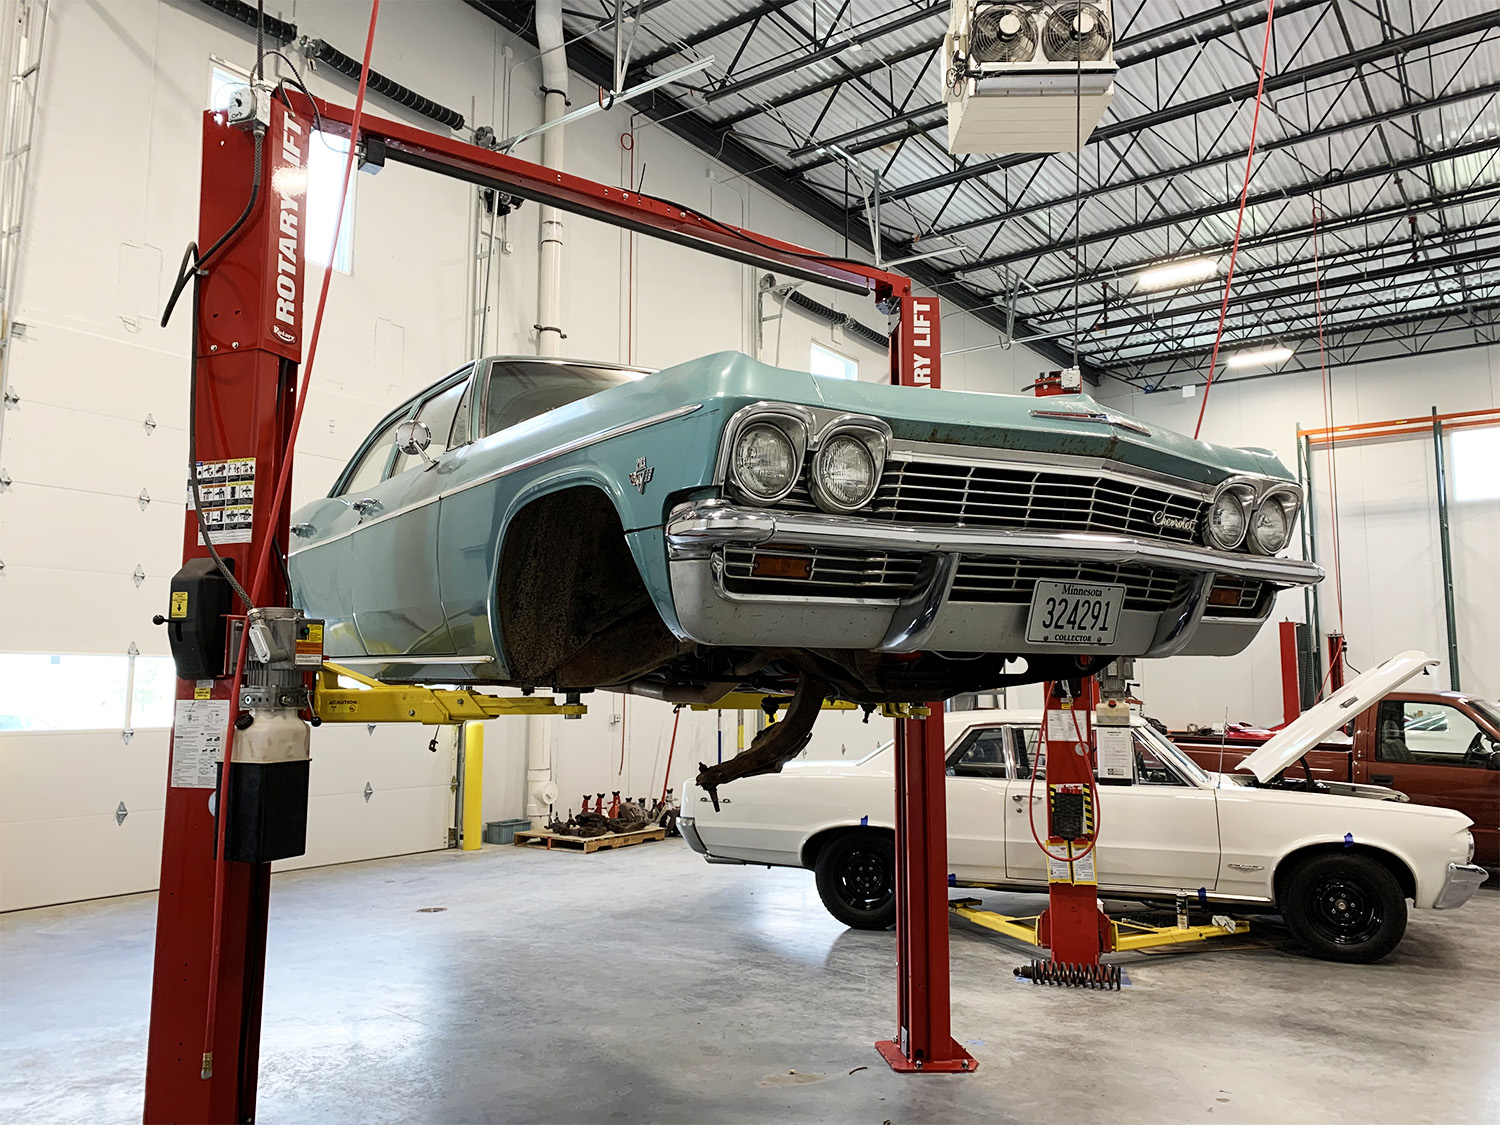
Step 1: Suspension
Even if your car is in great shape, the stock suspension still relies on 60-year-old technology. Replacing those old-school stamped parts and mushy shocks with modern components is a great way to improve ride quality and performance. You could build it into an all-around cruiser or choose a setup that’s dedicated to drag racing or handling events. You can also swap everything at once or work your way down the list below based on your budget and application.
Start with coil-over shocks for a great bang-for-the-buck upgrade you’ll notice and feel every time you drive the car. They’re the perfect way to gain adjustable ride height and dial in your ideal stance. Plus, you can fine tune the ride quality to suit your application with single- or double-adjustable shock valving. Whether you’re diving 10 mph or 100 mph, shocks will significantly impact your overall driving experience and enjoyment.
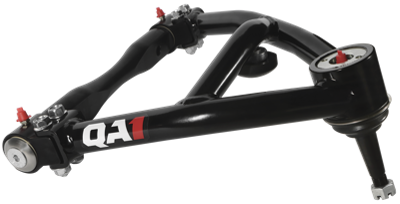
Next, add front control arms to remove suspension flex, lighten up the nose and add adjustability. Pair them with a front sway bar to reduce body roll in the corners and gain a planted feel when you push the car.
Moving to the rear, adjustable trailing arms will help you tune the anti-squat to improve traction and get you off the line in a hurry—which will be extra important as you work your way through this list and add power. Trailing arms also let you set the car’s pinion angle as you drop the ride height, ensuring nothing in your drive line binds up or gets mad at you.
Step 2: Brakes
Drum brakes were fine-ish when speed limits topped out at 55 and GM full-size chassis weren’t being tracked at autocrosses, drags and road courses. In today’s world, even typical freeway driving pushes stock ‘60s drums to the breaking point and then some.
Upgrading to disc brakes is a great way to give your car a modern feel and upgraded performance—not to mention added safety. If you’re just looking for a solid baseline upgrade, a front disc conversion is a good starting point. There are plenty of kits available that can be swapped out in an afternoon.
If you plan to push the car’s limits, a four-wheel conversion is highly recommended. You’ll almost certainly be changing master cylinders either way, so make this change out of the gate if it seems like a likely future upgrade. Braking is one of the many areas you can spend as much or as little as you want, so choose the option that best fits your budget, planned wheel dimensions and intended use for the car.
Step 3: Fuel Injection
The pedal pumping. The cold starts. The fuel mileage. The smell. While carbs were great back in the day (and absolutely still can be), updating to fuel injection instantly solves a lot of daily reliability headaches. And may not be much more expensive than a worthwhile four-barrel upgrade.
We know what you’re thinking. No, this does not mean a mandatory LS swap is in your future. There are plenty of good throttle body fuel injection options out there that will work with a classic Chevy small block. Many bolt right on to your stock intake and require just a few wires to get up and running. No more swapping jets. No more float bowl adjustments. Even if you’re planning for more power with heads or a cam, just update a few hardware parameters and be on your way.
Step 4: Wheels and Tires
Aside from ride height, nothing changes the look and attitude of your car like wheels and tires. Better yet, they can greatly improve ride quality, grip and handling characteristics with a just few rips of your trusty impact gun. Even if you’re keeping the stock dimensions, swapping from old steelies to modern wheels can shave weight and add a new look.
Let’s go back to Step 2 and talk about how your wheel choice affects your brake options. Swapping over to a mild disc brake package may allow you to run stock 14” or 15” wheel diameters. But many of the more aggressive kits out there require to upgrade to at least a 17” or 18” wheel size. This creates clearance for the much larger calipers and discs that give you that additional stopping power to brake late (without wondering if you’ll end up in the drink).
Time to get started.
We hope this list helps you out and gets you excited to start—or continue—wrenching on your car. These B-Bodies are plenty capable with just a few upgrades and can even work into the daily-driver rotation. Check out all of our QA1 suspension products to get your build moving in the right direction. Be sure to share your progress with us on Facebook or Instagram. Join our #goDRIVEit group for inspiration, tips and tricks from other enthusiasts around the world.
To stay up-to-date on the latest tech advice and new product launches, join the exclusive QA1 Muscle Car Suspension Hub Facebook Group.